Load data from Stripe to PostgreSQL
This guide will help you load data from Stripe into PostgreSQL
using omniload — a simple yet powerful data loader tool.
By the end of this guide, you’ll have your Stripe data securely stored in PostgreSQL.
Overview of omniload
omniload is a polyglot data loader framework and command-line tool that simplifies data ingestion by allowing users to load data from a source to a destination.
omniload Command
omniload ingest \
   --source-uri '<your-source-uri>' \
   --source-table '<your-schema>.<your-table>' \
   --dest-uri '<your-destination-uri>' \
   --dest-table '<your-schema>.<your-table>'
omniload ingest: Executes the data ingestion process.--source-uri TEXT: Defines the source database URI.--dest-uri TEXT: Defines the destination database URI.--source-table TEXT: Specifies the table to fetch data from.--dest-table TEXT: Defines where the data should be stored (defaults to--source-tableif not specified).
With this command, we connect to the source, retrieve the specified data, and load it into the destination database.
Step-by-step instructions
Stripe is a popular payment processing platform used by e-commerce and SaaS applications. If you need to analyze Stripe data, you can load it into PostgreSQL, a reliable and widely used relational database.
Step 1: Install omniload
Ensure omniload is installed on your system. If not, follow the installation guide.
pip install omniload
Step 2: Retrieve Stripe API Credentials
Stripe will be our data source. To retrieve your API credentials:
Log in to your Stripe Dashboard: dashboard.stripe.com
Navigate to Developers → API Keys.
Under Standard Keys, find:
Secret Key: Required for server-to-server requests
Click Reveal Key next to your Secret Key and copy it.
For detailed API documentation, visit the Stripe API Docs.
Step 3: Retrieve PostgreSQL Credentials
In this example, we are using a cloud-hosted PostgreSQL instance.
Log in to your cloud provider (e.g., Neon).
Navigate to your PostgreSQL instance and retrieve:
Host: Example -
your-db-instance.aws.comPort: Default is
5432Database Name: The database where Stripe data will be stored.
Username & Password: Credentials used to connect to PostgreSQL.
sslmode: Required depending on the security settings of your PostgreSQL instance
Step 4: Run the omniload Command
Execute the following command to load data from Stripe to PostgreSQL:
omniload ingest \
    --source-uri 'stripe://?api_key=<YOUR_STRIPE_SECRET_KEY>' \
    --source-table 'event' \
    --dest-uri 'postgresql://<username>:<password>@<host>:<port>/<database-name>?sslmode=<sslmode>' \
    --dest-table 'dest.events'
--source-uri 'stripe://?api_key=<YOUR_STRIPE_SECRET_KEY>': Connects to Stripe using secret key .--source-table 'event': Specifies the data to fetch data from Stripe.--dest-uri 'postgresql://<username>:<password>@<host>:<port>/<database-name>?sslmode=<sslmode>': Connects to PostgreSQL as the destination database using the provided credentials.--dest-table 'dest.events': Defines where the data will be stored in Postgres.
Step 5: Verify Data in PostgreSQL via DBeaver
Once the command runs successfully, let’s verify that the Stripe data has been loaded into PostgreSQL.
1: Connect to PostgreSQL via DBeaver
Open DBeaver and go to Database → New Connection.
Select PostgreSQL.
Enter your PostgreSQL credentials:
Host:
<your-host>Port:
5432(default)Database:
<your-database>Username:
<your-username>Password:
<your-password>
Click Test Connection to verify.
If successful, click Finish.
2: Browse Tables
Expand your PostgreSQL connection in the Database Navigator.
Expand Schemas → Public.
Expand Tables and find
events.
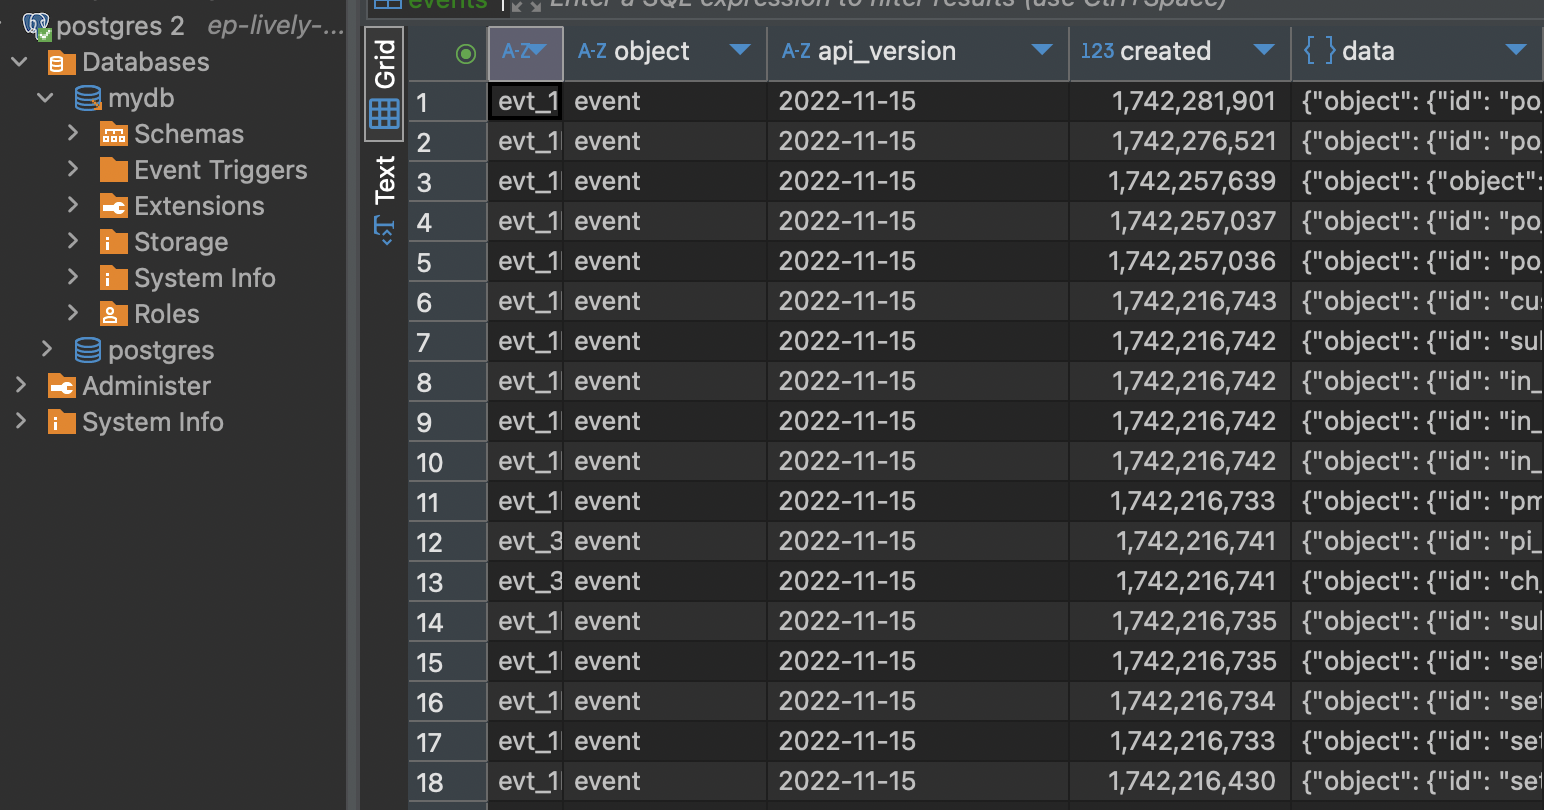
3: View Data in DBeaver
Right-click the
eventstable.Click View Data → All Rows.
Ensure that the retrieved data matches what was expected from Stripe.
Congratulations
Your Stripe data is now securely stored in PostgreSQL.